Placing the Pivots
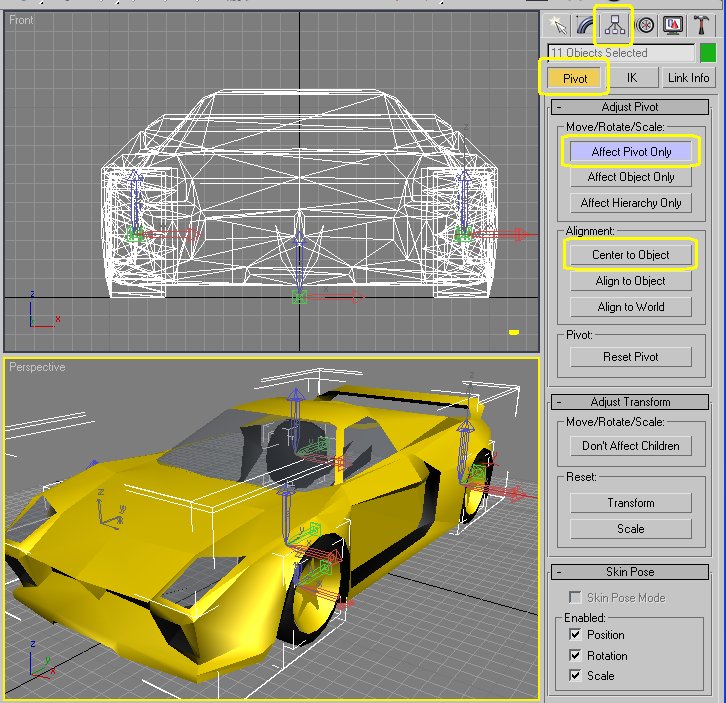
All objects in the scene have a point at which they rotate upon. This is the pivot point. Generally the pivot is placed 'center to the object'. This is important for the wheels so that they rotate and turn about their centre.
In the screenshot, above, I have selected 11 objects and clicked on the Hierarchy tab. This is one modification that can be done on multiple objects at once (though not necessary). Click on the Pivot button and open the Adjust Pivot roll-out. The pivot points will now be shown for those objects. In the Move/Rotate/Scale box, click the Affect Pivot Only button. In the Alignment Box click on Center to Object.
Tip: Every time I do this on an object I will reset the Xform modifier on that object, and then collapse that modifier to the stack.
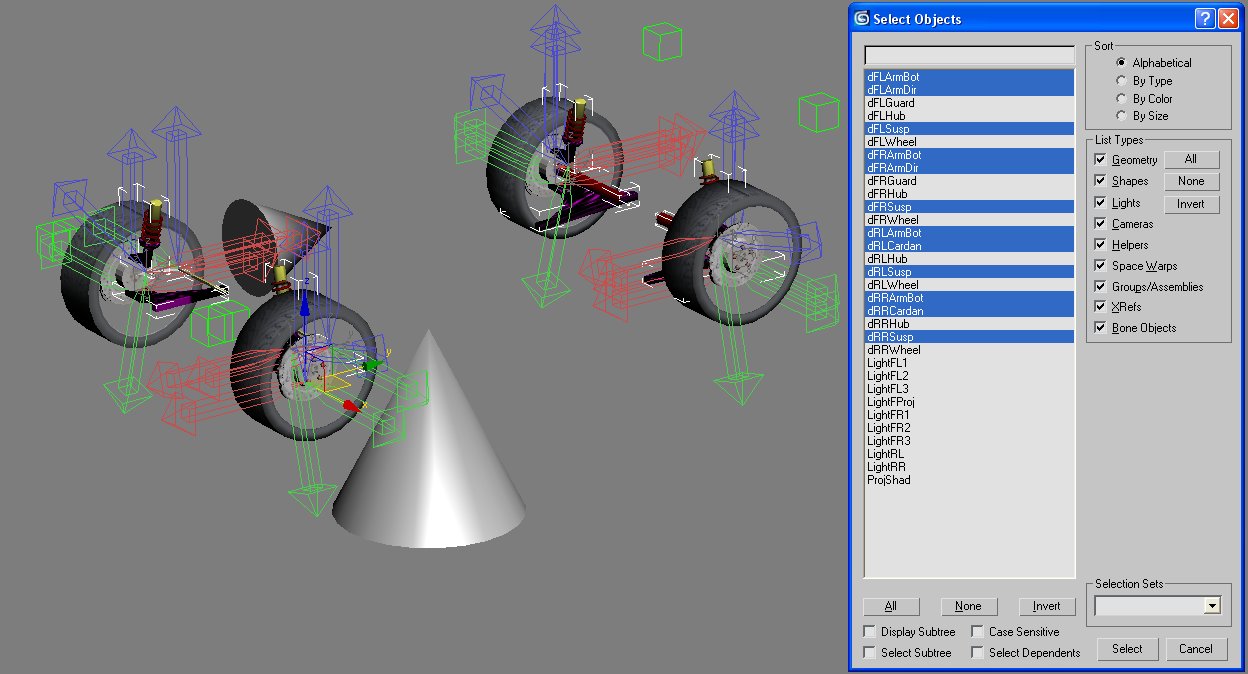
The pivots for the 'Lights and Shadow' objects should be oriented as follows...

The trick here is to rotate the 'effect pivot' of each object in direction shown.
The pivots for the suspension objects that only move up and down should be oriented as follows...

This is the default orientation of the 'effect pivot' after a xform reset.
The pivots for the suspension objects that pivot from the body should be oriented as follows...
Tip: Do not do a Xform reset after orienting these pivots. If you do , they will revert to their default orientation.